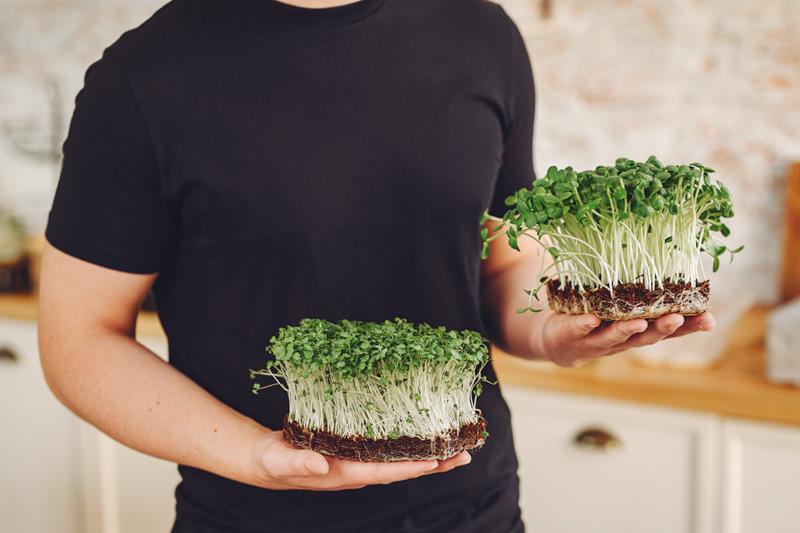
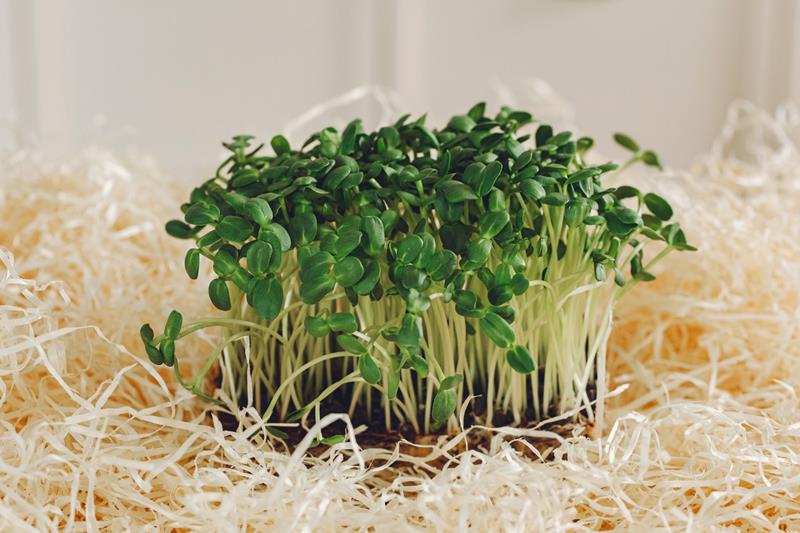
If you see some boxes with fresh tiny greenery inside at the grocery store, you probably pay attention to them. Have you ever wondered how to grow these plants? It is easy to pot them up, even if you are not experienced in gardening. Many people seed microgreens at home because they get many benefits like acquiring a new hobby, saving money, and being eco-friendly.
You can do it indoors, year-round, on a small windowsill. You will also have an edible superfood rich in vitamins and microelements. Many vegetables can be used to produce fresh sprouts, such as broccoli, beans, mustard, radish, kale, cauliflower, and cabbage. By providing a few facts about microgreens, we are trying to encourage as many people as possible to join the urban farming community. This will help you figure out how to grow your first plant on a windowsill without soil.
Is This Method Right for You?
Before dressing your sandwich with some microgreens, let’s see how to germinate seeds step-by-step. In the method we are talking about, no soil is needed; only a paper towel is used. It is simple for beginners and has lots of perks. It is convenient to handle and eliminates the need to wash your hands after working with soil, which can remain under your nails, on the floor, on the windowsill, or terrace. With a paper towel, everything stays clean and free from mold, which sometimes appears in substrate. It is a cheap and eco-friendly way of gardening for beginners. The only drawback is that the paper towel dries quickly, so you need to monitor the humidity in the container.
Prepare, Sow, Care
You will not find seeds specifically labeled as microgreens because they don’t exist on the market. Microgreens are the first phase in plant breeding, so fresh sprouts are considered the most vitamin-rich, with a vast number of trace elements, amino acids, and essential oils. So, to get a successful harvest and a vitamin-rich result, you need to follow these tips.

Gathering All Necessary Supplies
Before beginning, ensure you gather all the essential gardening tools:
- Seeds: Select various types for a diverse harvest.
- Paper Towels: Use lightweight ones as a filler for germination.
- Container/Box: A small, wide one with perforations at the bottom and a tray for planting seeds.
- Plastic Wrap/Lid: To cover the germination setup.
- Sprayer: For moistening the filler.
- Tweezers: For handling seeds and sprouts.
- Water: The primary nutrient for microgreens.
Remember to take photos throughout the process. Sharing them on social media can inspire others to embrace urban gardening.
Microgreens Gardening: How It All Works
Once everything is ready, you can start sowing. To do this, place a paper towel on the bottom of the sprouting container and spray it with a spray bottle until it is sufficiently damp. Spread the seeds on a towel in one layer. Then cover the container with plastic wrap or a lid and place it in a warm place.
When the seeds begin to sprout, move the container to a well-lit area, such as a windowsill, so that they receive enough light. Continue to check the dampness of the towel daily and re-wet it if necessary. In a few days you will notice the appearance of the first shoots. An important point is to maintain constant temperature and humidity. To do this, you can use a special thermometer and hygrometer. Also be careful not to allow mold to form as it can damage the seeds. If you notice mold, carefully remove it and provide additional ventilation.
When the sprouts reach a height of about 2-3 centimeters, they can be transplanted into pots with soil or into open ground, depending on the type of plant and climatic conditions. Before replanting, make sure the soil is well prepared and fertilized to provide the best conditions for the sprouts to further develop.
Enjoy the Harvest
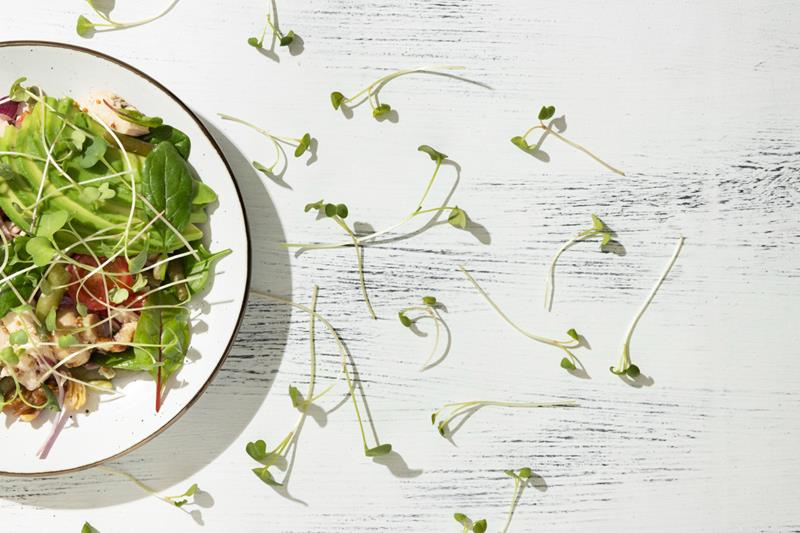
As soon as sprouts appear, the container must be moved to a place with sunlight or a windowsill. Wait 7-10 days and harvest your first sprouts. Just cut them and put them in your meal. Microgreens are superfoods; they are tasty, with exclusive flavors and delicate textures, rich in health-promoting nutrients, and contain chlorophyll, organic acids, carotenoids, vitamins, etc. They can turn the simplest food combination into delicious gourmet dishes.
Common Challenges You May Encounter
Growing microgreens may surprise you with unexpected challenges we didn’t discuss. Depending on the season you start to germinate seeds, the amount of natural sunlight, and the place you put the germination container, sprouts may grow slowly, and the leaves may look dull and yellow. Sometimes extra light, like UV lamps, is needed. You may also forget to water or ventilate the seeds every day, but microgreens need stable temperature, light, humidity, and a daily portion of fresh air.
However, you can’t control all the influencing factors, and the germination process may be complicated; even experienced farmers often face challenges. The paper towel method is the easiest, so you should try to germinate your first microgreens and enjoy a self-produced tasty superfood.


